How to turn DAS into NAS using a Raspberry Pi and OpenMediaVault
Preparing the Raspberry Pi
Andy Walker / Android Authority
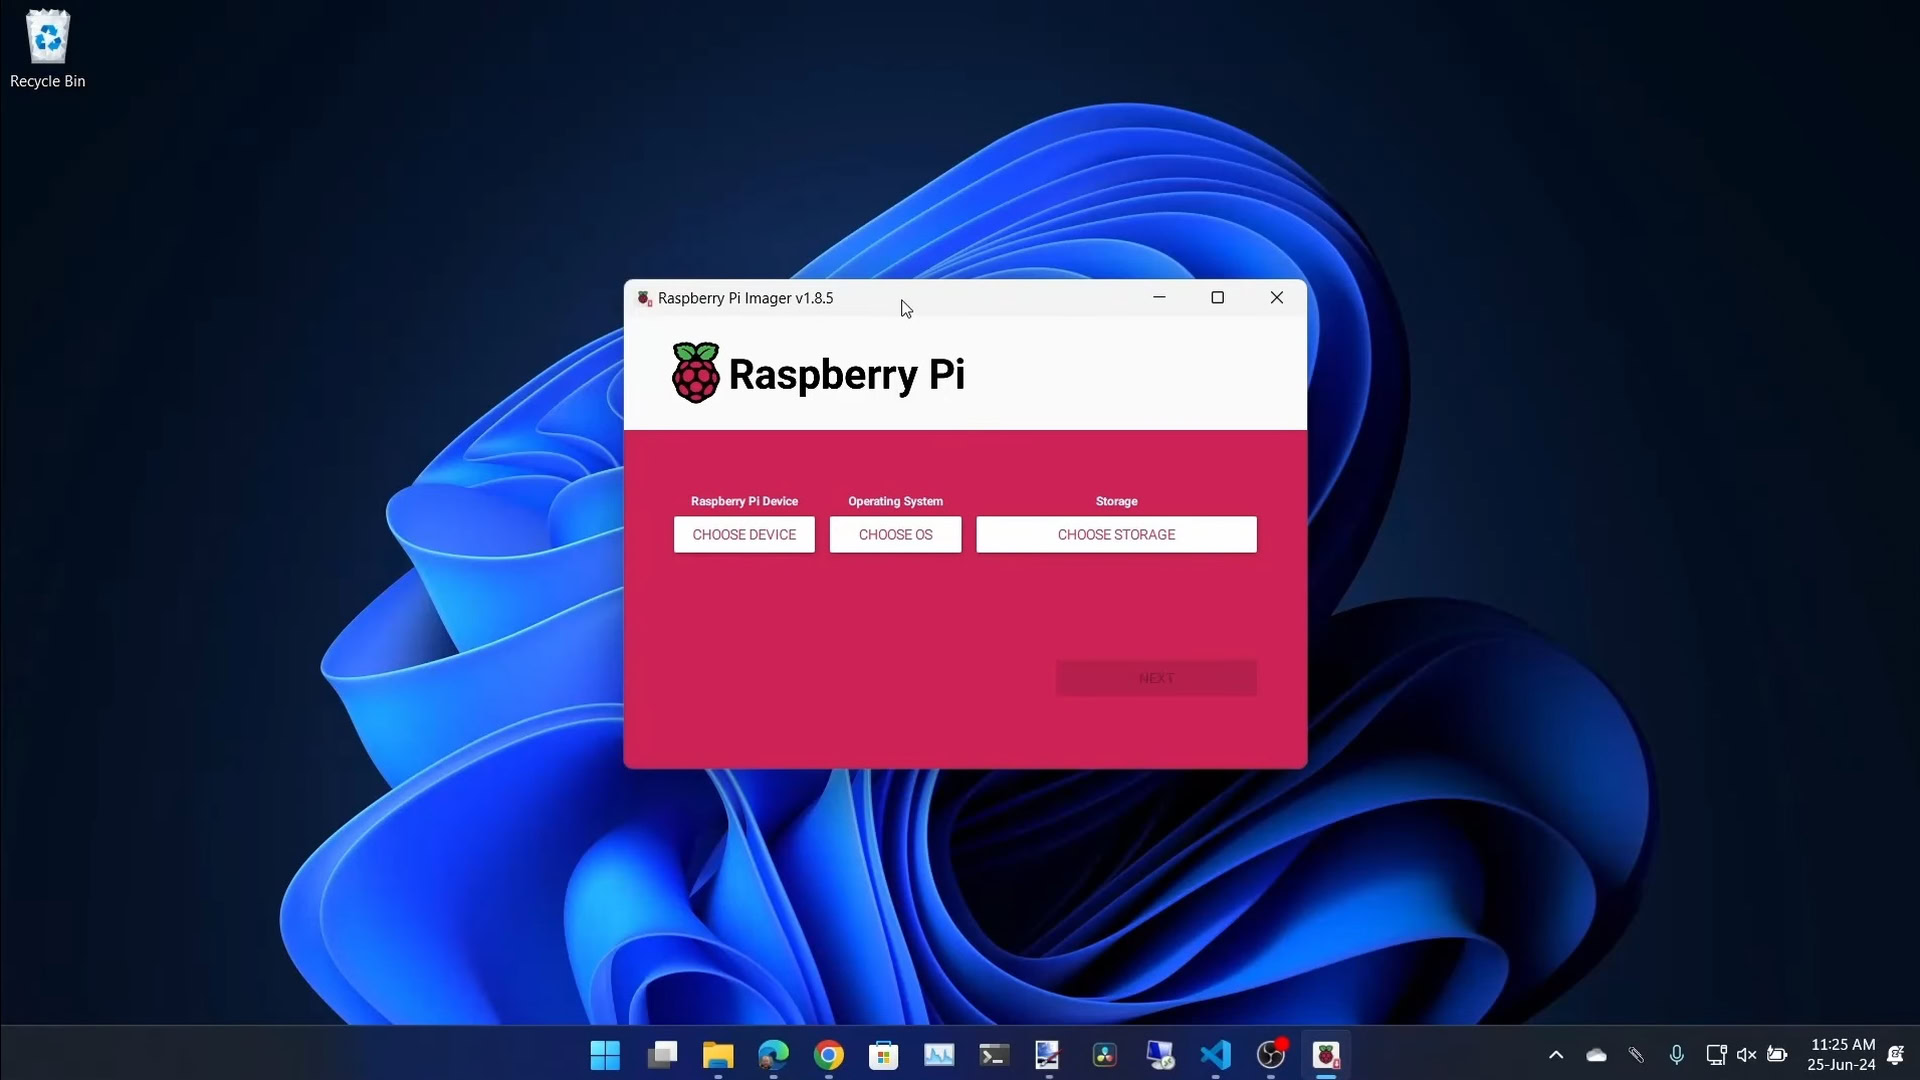
- First, use Raspberry Pi Imager on your laptop or PC to install Raspberry Pi OS Lite 64-bit on your microSD card. I opt for this version of the OS because it’s lightweight, and a heavier build isn’t needed for our purpose.
- Once the OS is installed, insert the SD card into the Raspberry Pi, boot it up, and complete the initial setup (which includes picking a keyboard, selecting a username, and confirming a password).
- Next, you’ll need to install OpenMediaVault. To do so, run the following command:
- Wait a few minutes for OpenMediaVault to install. During this time, your Raspberry Pi will reboot. After this, you will be shown your Raspberry Pi’s IP address and the default username and password for OpenMediaVault. Make a note of these details.
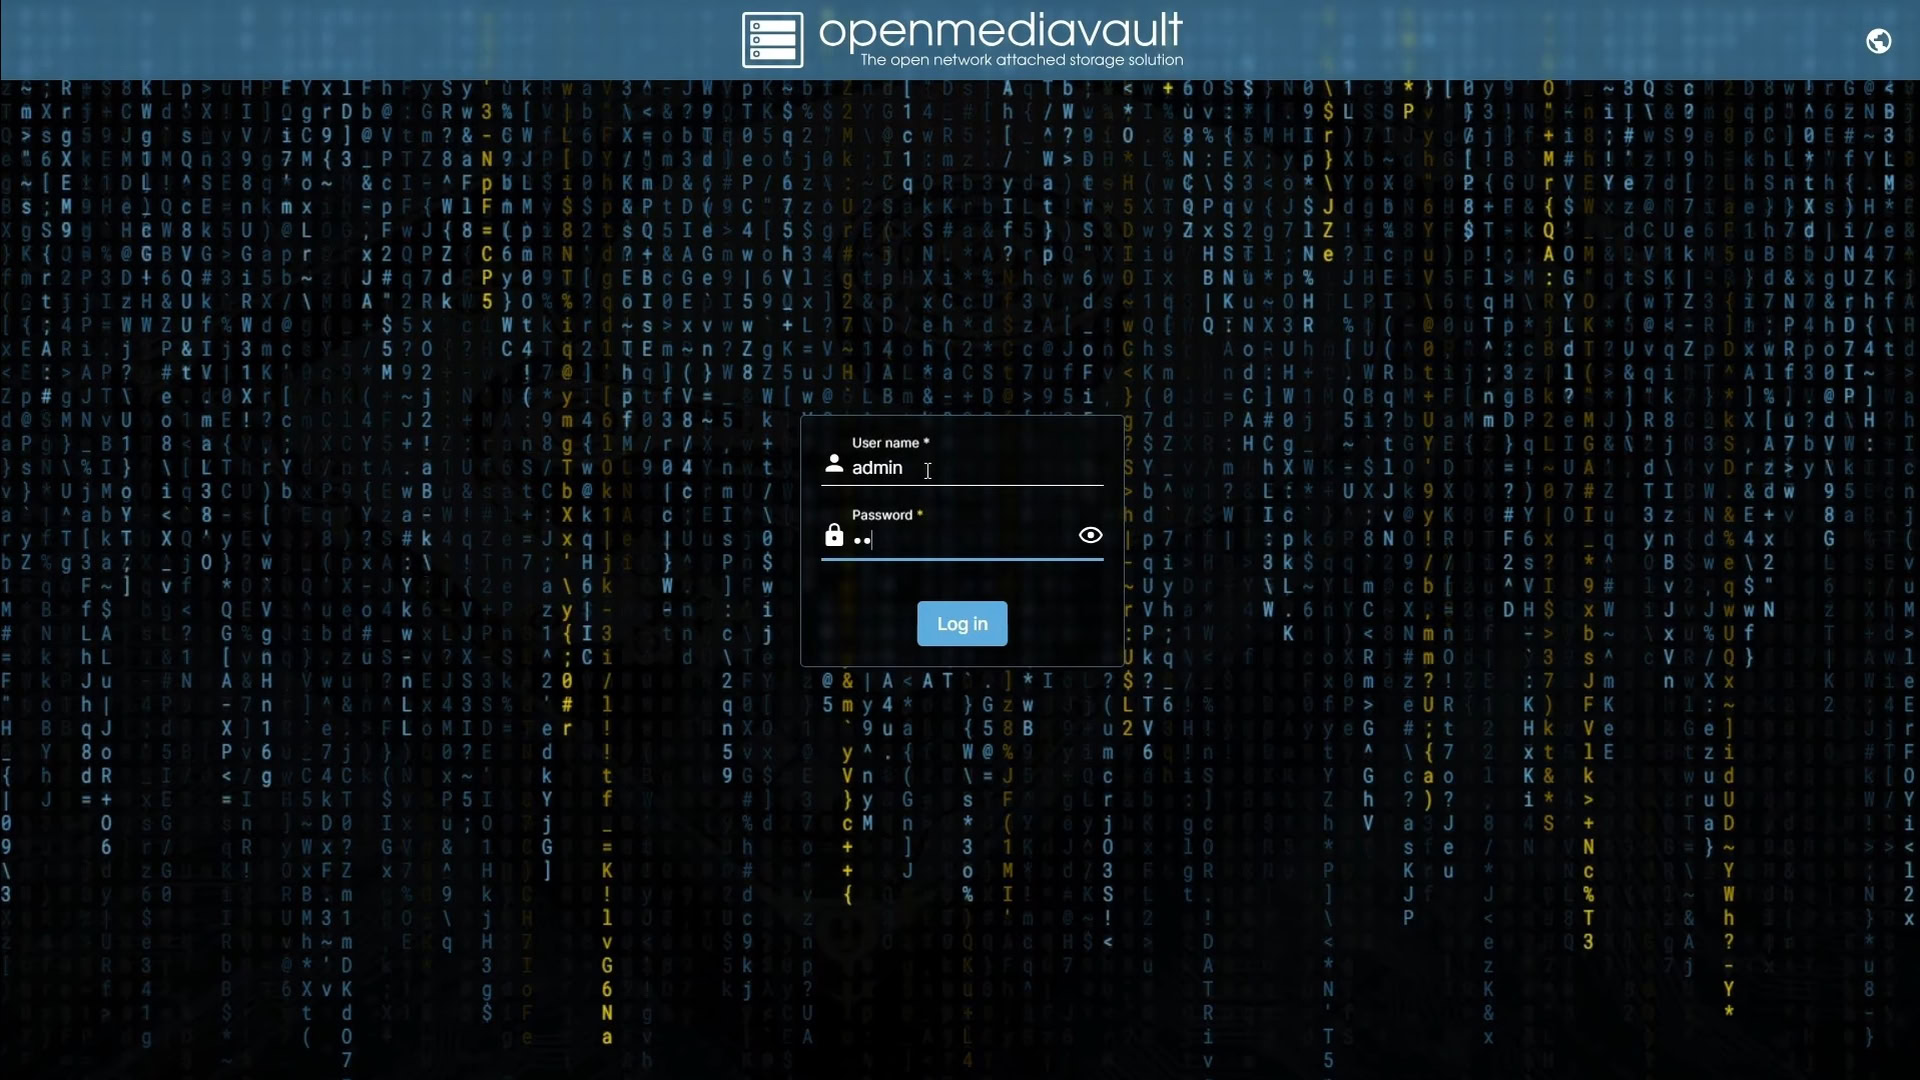
- Next, grab your laptop or computer. Open your browser and point it to the IP address you just noted. When the OpenMediaVault login screen appears, log in using the provided username and password.
- Once logged in, you can head to Network > Interfaces within OpenMediaVault, change the network preference from DHCP to Static, and assign a dedicated IP address. This will ensure your Pi remains accessible at the same IP address every time you log in.
- Once you’ve updated the network settings, apply the changes. To reaccess OpenMediaVault, point your browser to the IP address you set. You can also change the device’s hostname to something more familiar. You can find these settings in Network > General > hostname.
Configuring OpenMediaVault storage
Andy Walker / Android Authority
- To make your NAS visible to Windows machines, you must enable SMB/CIFS support. To do so, go to Services > SMB/CIFS > Settings > select the Enabled checkmark and click Save.
- Next, you’ll need to create a user. Click Users > Users > click the + icon to create a new user or the pen icon to edit an existing user. Ensure you set a password to ensure that Shares are accessible and secure.
- Before creating an accessible share, you must create a file system. Head to Storage > Disks. Identify the disk you want to use, wipe any existing data if necessary, and create a new file system using the format of your choice. I opted for ext4. Once formatted, you can then mount the drive.
- Next, create a Shared Folder. Access this facility through Storage > Shared Folders > click the + icon to create a new Shared Folder. Name the folder, select the file system you created, and select the desired privileges.
- Now that you’ve created a file system and a Shared Folder, you can create a Share. Go to Services > SMB/CIFS > Shares > click the + icon to create a new Share. Select the Shared Folder you just created and set your configuration preferences.
- Finally, to check if you’ve configured your OpenMediaVault NAS properly, navigate to the IP address of your Raspberry Pi from File Explorer on a Windows machine, log in with the user credentials, and access your shared folder.
- You can now read and write files to your NAS.


